Learn how to print pictures and other documents from your Mac to a printer.
Print a document
- Open an item that you want to print, then choose Print from the File menu, or press Command-P.
- Choose your printer from the Printer pop-up menu, which lists nearby printers. You may need to wait a moment for the printer to appear in the menu.
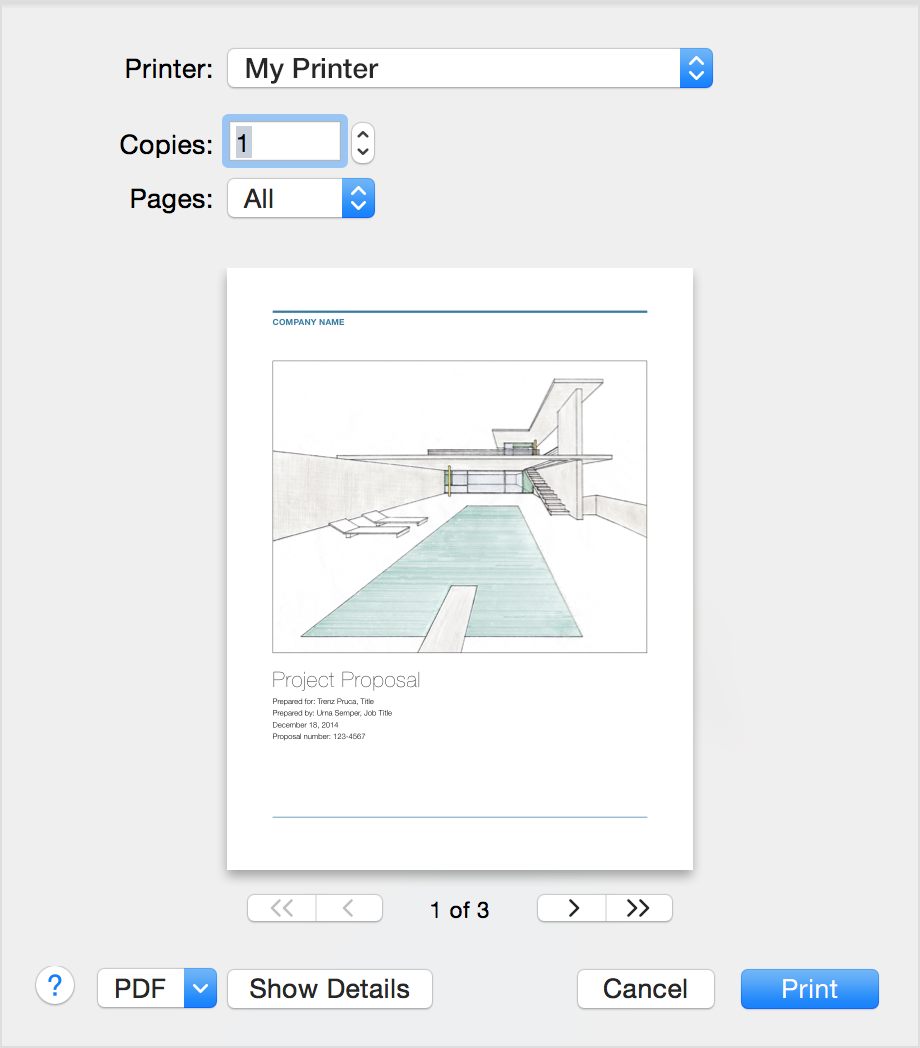
- Optionally change any of the other settings shown, such as the number of copies to print. Click Show Details to display additional settings that your printer or app supports. These settings vary depending on the printer and app you’re using. Click Hide Details to show just the most commonly used settings.
- To send the print job to your print queue, click Print.
Manage your print jobs
After you click Print, the print job goes to your print queue, which automatically sends the job to the printer. To open your print queue:
- Click the icon of your printer in the Dock. The printer icon appears when the print queue contains jobs.
- Or go to Apple menu > System Preferences, then click Printers & Scanners. Select your printer from the list, then click Open Print Queue.
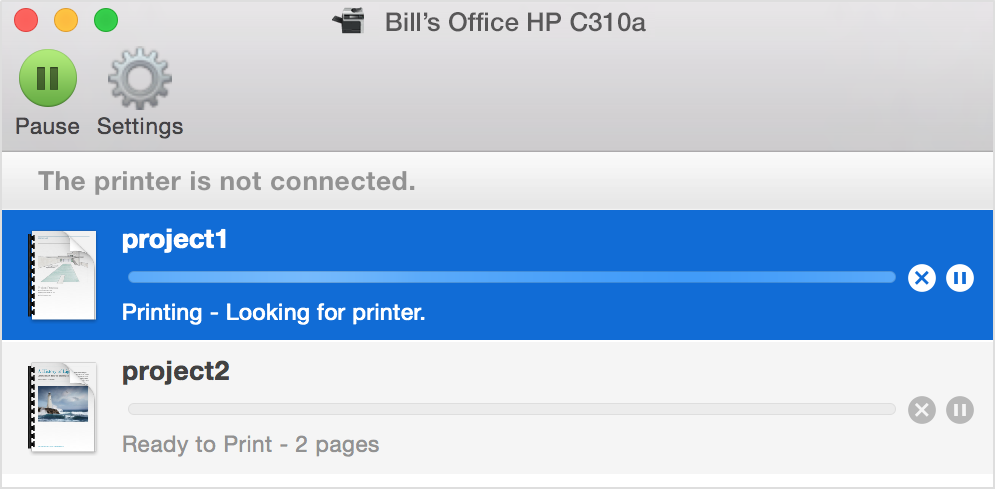
You can take any of these actions from the print queue:
- View status messages about your printer, such as “Printer is not connected.”
- View jobs that are in progress, waiting to be printed, or couldn’t be printed because of a problem with the printer or its connection.
- Pause, resume, or delete jobs.
- View settings and other information about your printer, such as the printer’s name and supply levels.
- Preview your document by double-clicking it or selecting it and pressing Space bar.
Learn more
For more information, click the question mark in the Print window or Printers & Scanners preferences.